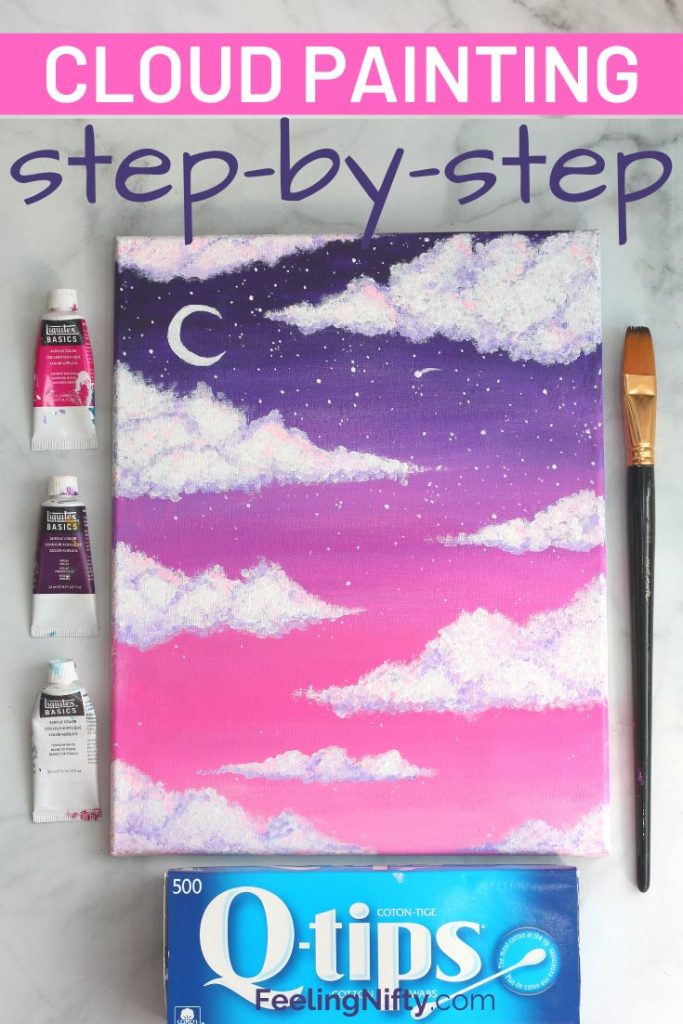
what paint brushes to use for painting clouds with acrylics
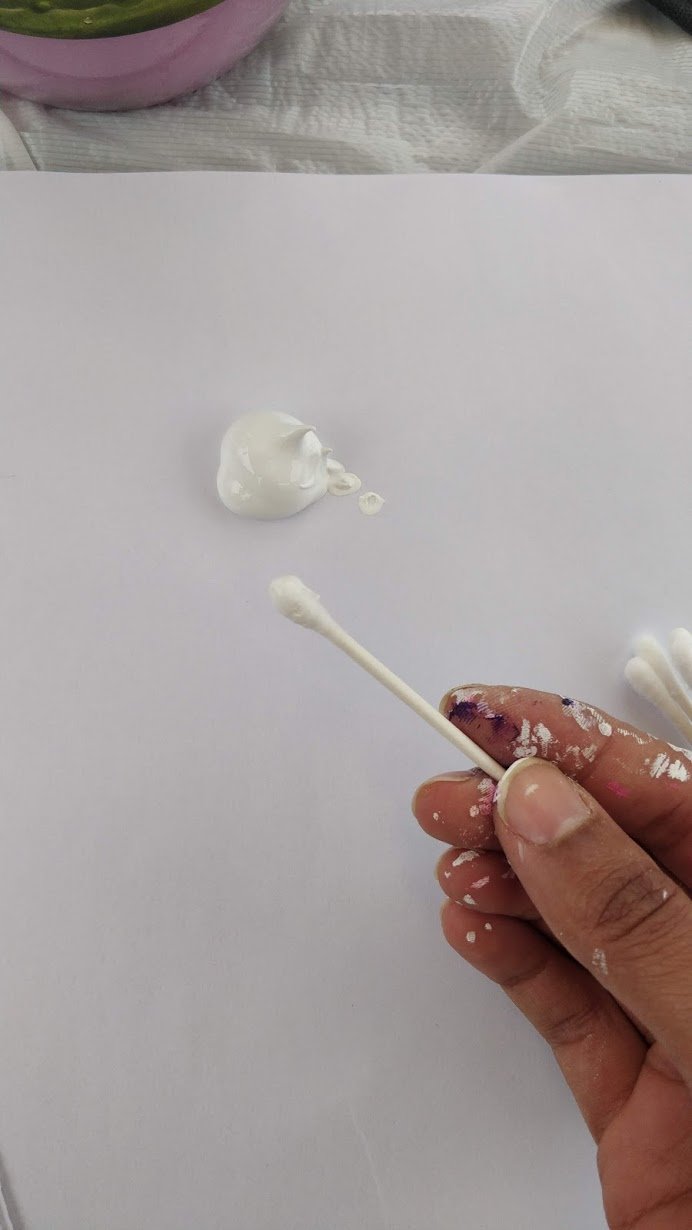
In this tutorial, I will show you how to paint clouds a fun and piece of cake way- without a single paintbrush! This fool-proof technique uses q-tips/cotton fiber swabs and is relaxing to paint. You'll learn this technique in the pace-past-stride tutorial below or a full length YouTube tutorial.
If you've done any of my other painting tutorials, yous'll know my style is to brand paintings easy for all skill levels only also enjoyable and relaxing to create.
In my opinion, the terminate or final painting doesn't matter so much as the process does. When the procedure is stress-free and enjoyable that's when y'all get the therapeutic effects from painting and your creativity and confidence are elevated equally a outcome.
I had lots of fun making this cloud painting tutorial, hope you enjoy painting information technology too!
If y'all're looking for more than aesthetic sunset paintings, check out this how to pigment mountains in a pink dusk, and this gorgeous sunset cityscape painting tutorial.
Or if you're wanting to add a more realistic looking moon to this painting, bank check out this how to paint a realistic moon tutorial.
Now permit's get ready to pigment some clouds!
How to Pigment Clouds Without a Paintbrush
Surprisingly, painting clouds tin be done with a couple different means, both without using a painbrush.
Some artists similar to dab on paint with an artist sponge, like these ones, which gives soft fluffy edges to clouds.
My technique uses some other tool, a tool you probably already have at home right now!
What is it?
Q-tips!..or cotton fiber swabs, depending on where you live.
Yep, those slap-up ear cleaning tools, tin can be doubled as a fun painting tool!
I'm a bit painting/q-tip obsessed- You'll meet why subsequently checking out my other tutorials similar, How to Paint Lavender, and my super pop Red Blossom Tree Painting tutorial.

Using Q-tips to Pigment
Since we will be painting mainly big and fluffy cumulus clouds (which remind me of giant pieces floating cotton), its all-time to group your q-tips together as your paint.
To do this, I used 4-5 Q-tips and attached them together with a rubber band

I used these grouped q-tips for the larger clouds in the painting. It immune me to course the clouds faster.
For the smaller clouds in the painting I opted to use a single q-tip so I could get more control over the shape and shadows of the cloud.
How To Create Authentic Clouds Shapes
One of my art teachers gave me advice that I still use until this solar day. The communication was to take your subject matter and break it downwardly into elementary shapes like circles, ovals, squares, triangles, rectangles, etc. Before starting any painting, this was an exercise all the students used to do.
In one case you start seeing the object in terms of simple shapes, information technology becomes so much easier to paint/depict/sketch any object in a very authentic way.
Information technology's a simple and swell trick that y'all can use besides!
Clouds are a perfect example of how y'all can start looking at objects in terms of uncomplicated shapes. And you've probably already done information technology equally a child! Do you remember looking up at the sky and imagining clouds to looking similar a cat, a dog, or a funky frog?
For the clouds in the painting below, I saw a "triangle" shape in them. I've added plenty of pictures in the tutorial below then you can see the exact triangular shape I used so you tin can easily recreate information technology too.

Alternatively, y'all can have even more fun and explore more clouds shapes on your ain with the fun activity below.
Fun Deject Shape Activeness
On a nice cloudy twenty-four hour period, go outside with a slice of paper and a pencil and look at the clouds (make sure you have 10-15 minutes of uninterrupted time).

Wait at all the clouds for a couple of minutes, and have annotation of 1 or 2 that catch your middle. Focusing on the one-ii you picked, try to interruption the cloud shape into simple shapes (triangles, squares, ovals, circles, etc) and sketch it out on your paper. The shapes tin overlap and can exist equally big/minor as yous like.
Use the 1-2 clouds you sketched out with your simple shapes activity and add them to the cloud painting tutorial below.
Annotate below which shapes YOU found!
What Colors Practise Y'all Need to Pigment Clouds?
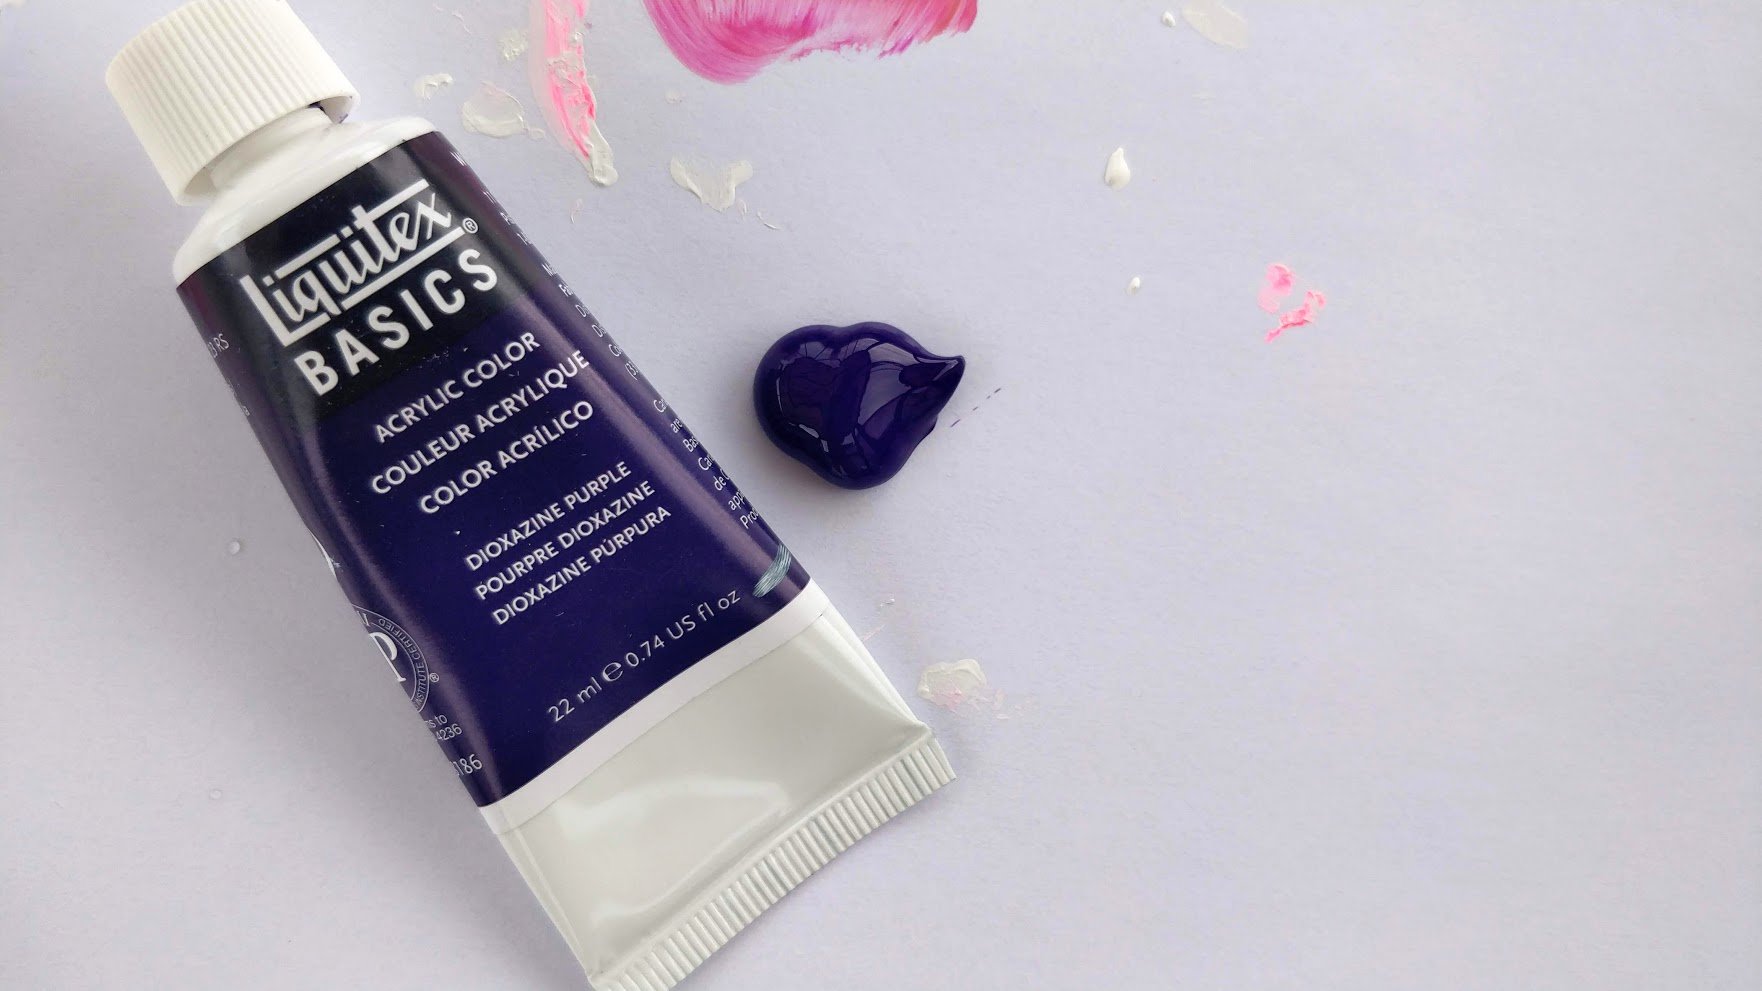
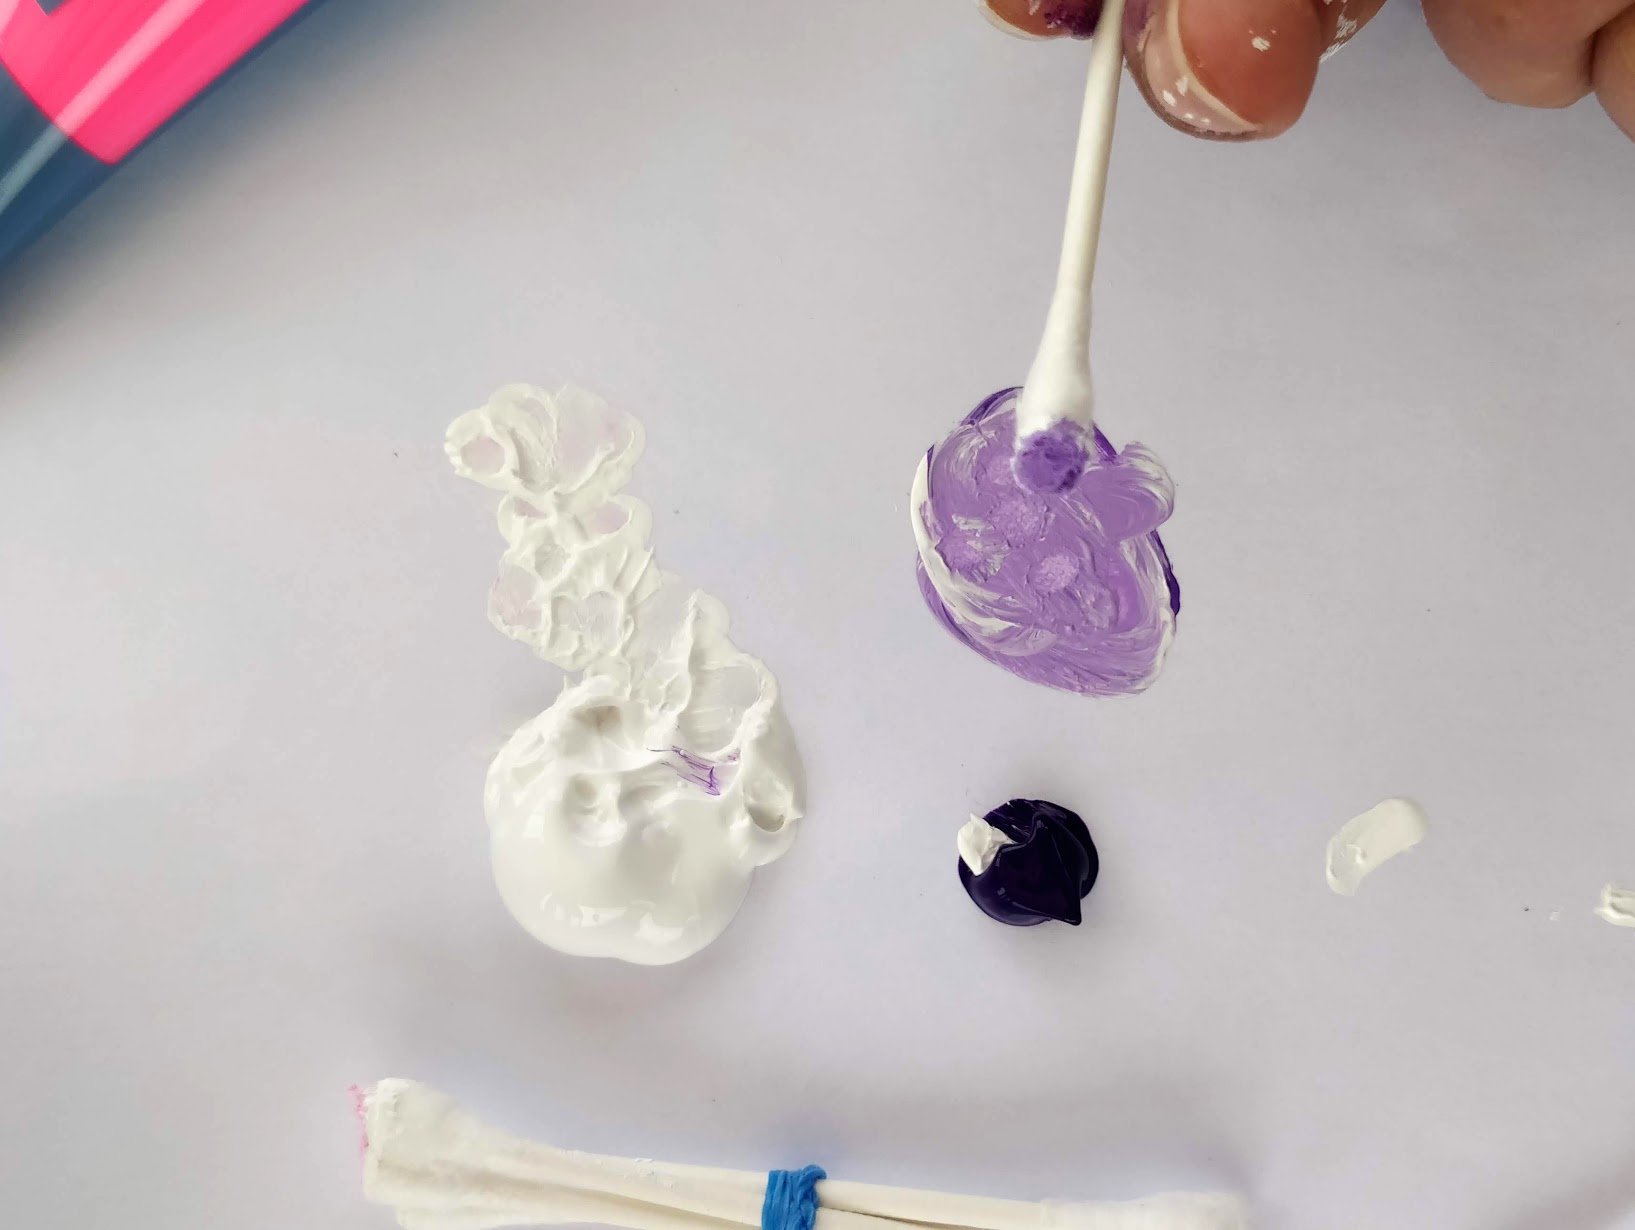
I used white acrylic paint as the base color for all my clouds. Clouds also accept shadows in them, this gives them dimension and depth.
For the shadows portion, I used a lovely and soft lavender color. I simply mixed a tiny bit of my Liquitex violet prism into white paint. I dabbled some of this lavender color into my cloud shapes while all paint layers are still moisture and so that the white of the clouds and shadow alloy nicely.
I so went over the shadows with more than white (on my q-tips) to soften the edges even more. This layering arroyo is super important in painting and really adds beautiful depth into information technology.
It is likewise important to pigment each deject while it's even so wet. This ensures that each layer you add together to it blends nicely together.
TIP: paint each cloud fully, then move on to the next deject
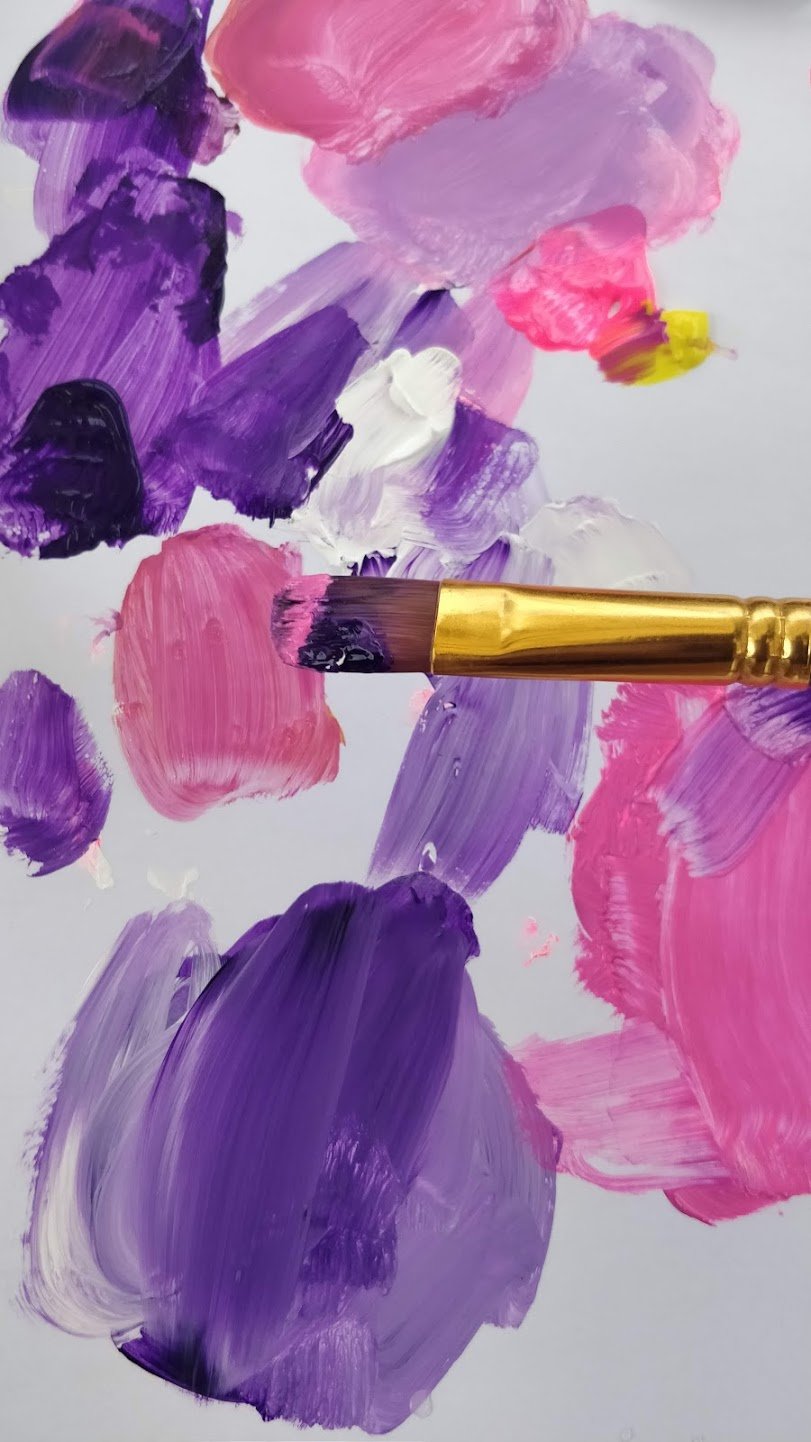
Annotation on colors: If y'all don't want to purchase the same tones of majestic/pink'southward I used in this tutorial you tin can but use any pink and imperial you take at home.
Clouds An A Dusk Background
For the background of this cloud painting, I was actually feeling a dark rich imperial and bright pink to mimic an aesthetic sunset sky await.
I encourage you to call back of what colour choices inspire you lot for your background. Information technology's totally fine to follow tutorials to the tee, but information technology's even more satisfying to put your ain style and flair to information technology.
Experimenting with color is fun, I hope you'll give it a endeavor! Your painting will exist that much more unique and more than Y'all!
If you lot have any questions or need help with colors, don't hesitate to send me an email or annotate below.
How to Pigment Clouds On YouTube
If you're a visual learning and adopt video instructions, feel gratis to watch the full YouTube tutorial beneath. If you want detailed step by step written instructions (with pictures) they are below the video.

Agile Time 1 hour 30 minutes
Total Time i 60 minutes xxx minutes
Difficulty Beginner
Estimated Price $10
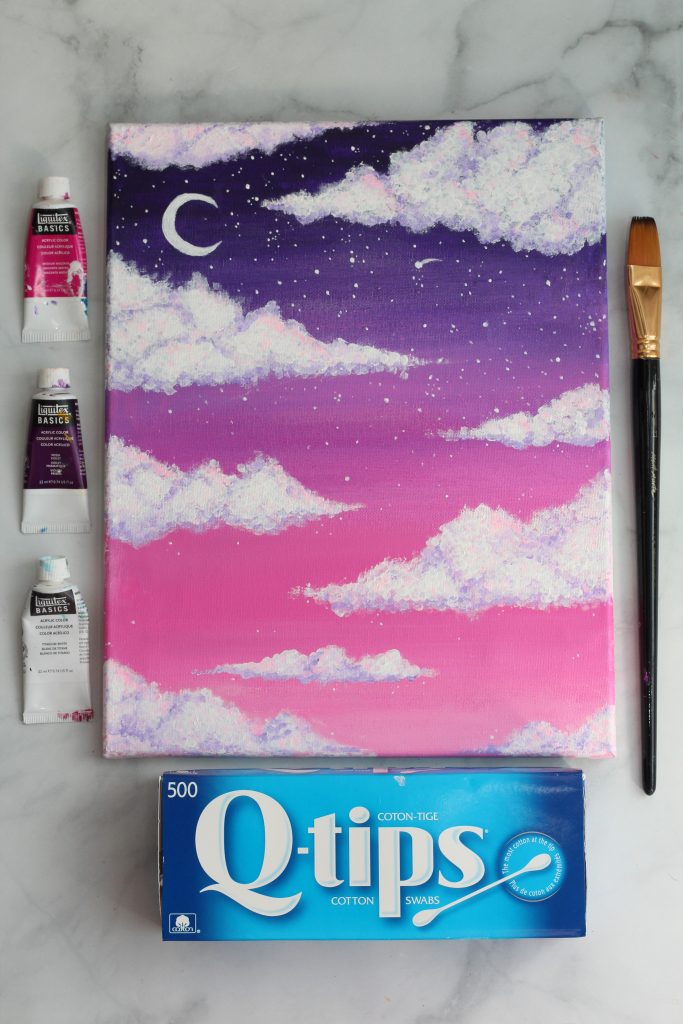
Materials
- prism violet acrylic paint (or whatsoever deep royal)
- medium magenta acrylic paint (or any pinkish)
- fluorescent pink pigment (optional)
- white pigment
- canvass
- Q-tips
- liner brush
- ane inch (or medium size) apartment brush
- pallet
- jar of h2o
Instructions
- Click here for the full length YouTube tutorial
- Using your medium apartment brush, paint on your deep regal color onto the peak one/5th of your sail
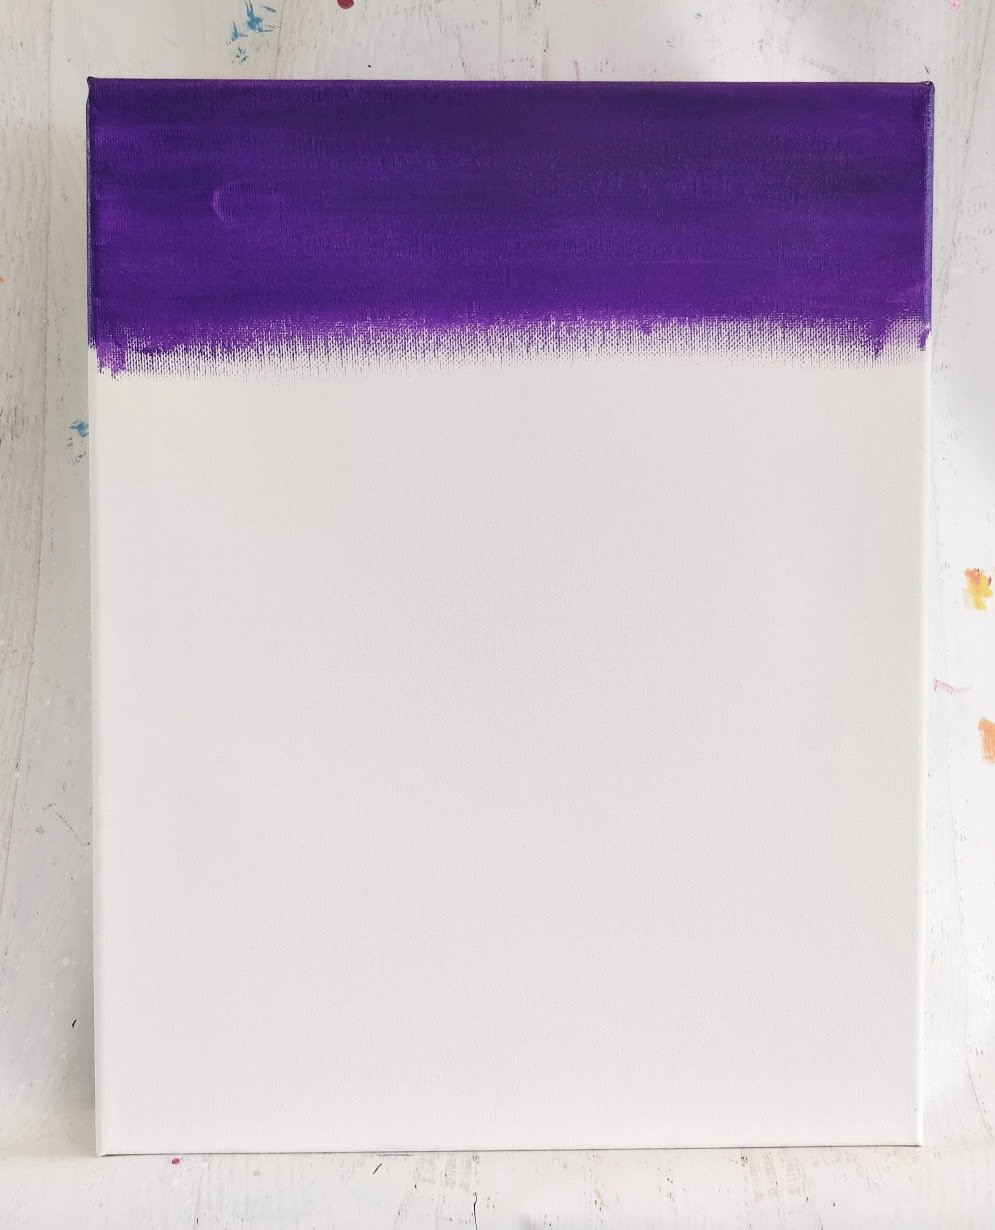
- Without cleaning your castor add a dab of white onto information technology and paint this colour below the regal until midway on the sail (it will be a lighter imperial)

- Without cleaning your brush off, add some pink onto your brush. The pink I used in this painting is a lxx/30 mix of medium magenta to fluorescent pinkish. Merely you can use any pink you accept laying around. Pigment this color onto canvas below the lite regal

- Without cleaning off your brush add some white to the paintbrush and paint the remainder of the canvas to the bottom. Your sky background is now done. Expect until it fully dries before moving onto the next steps

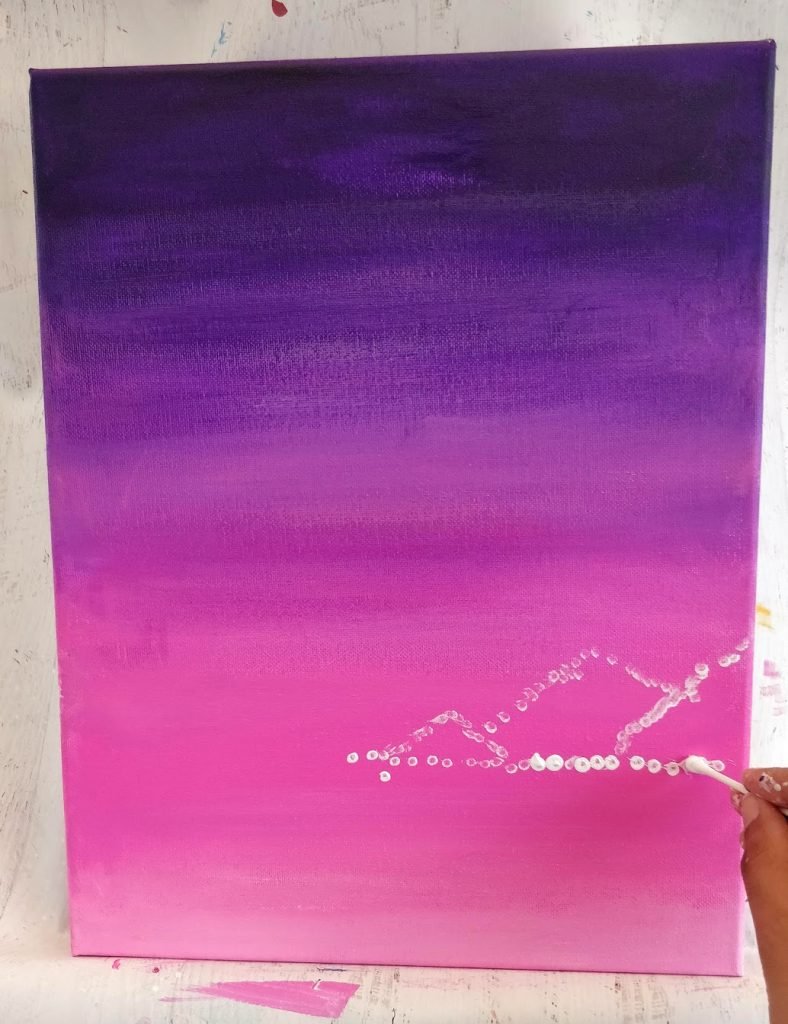
- Take a unmarried Q-tip and load some pure white paint onto it. Course some triangles shapes on your canvas, like the motion-picture show below.

- Take your group of 4-5 Q-Tips, load some white paint on them, and fill up in your triangle shapes/clouds. Don't be afraid to paint exterior your triangle shape. Clouds are not angular, but rather have soft edges. Have fun and soften out your triangle with dabs of paint above, beneath, and to the sides. Use your intuition and just go with it- this part was my nearly favorite- painting outside the lines!

- While the cloud paint is nevertheless wet, have some white paint and mix in a tiny amount of purple to make a lavander color. Using your q-tips, add some lavander shadows to your clouds. Ensure the bottom of your cloud has the lavander pigment across information technology, then add the lavander pigment as you wish. I added information technology in triangular shapes to prove shadows of multiple clouds in 1 formation.

- While the shadow cloud paint is still wet, reload your 4-five q-tip package with more than pure white pigment and go over the cloud to soften the lavander shadow edges.

- Equally a finishing touch to the cloud, mix some white with a tiny amount of your pink paint and put a couple of dabs of it here and there on your clouds. I added but a tiny hint of information technology so its very subtle. This is the color of the pinkish sky reflecting subtly in the clouds.

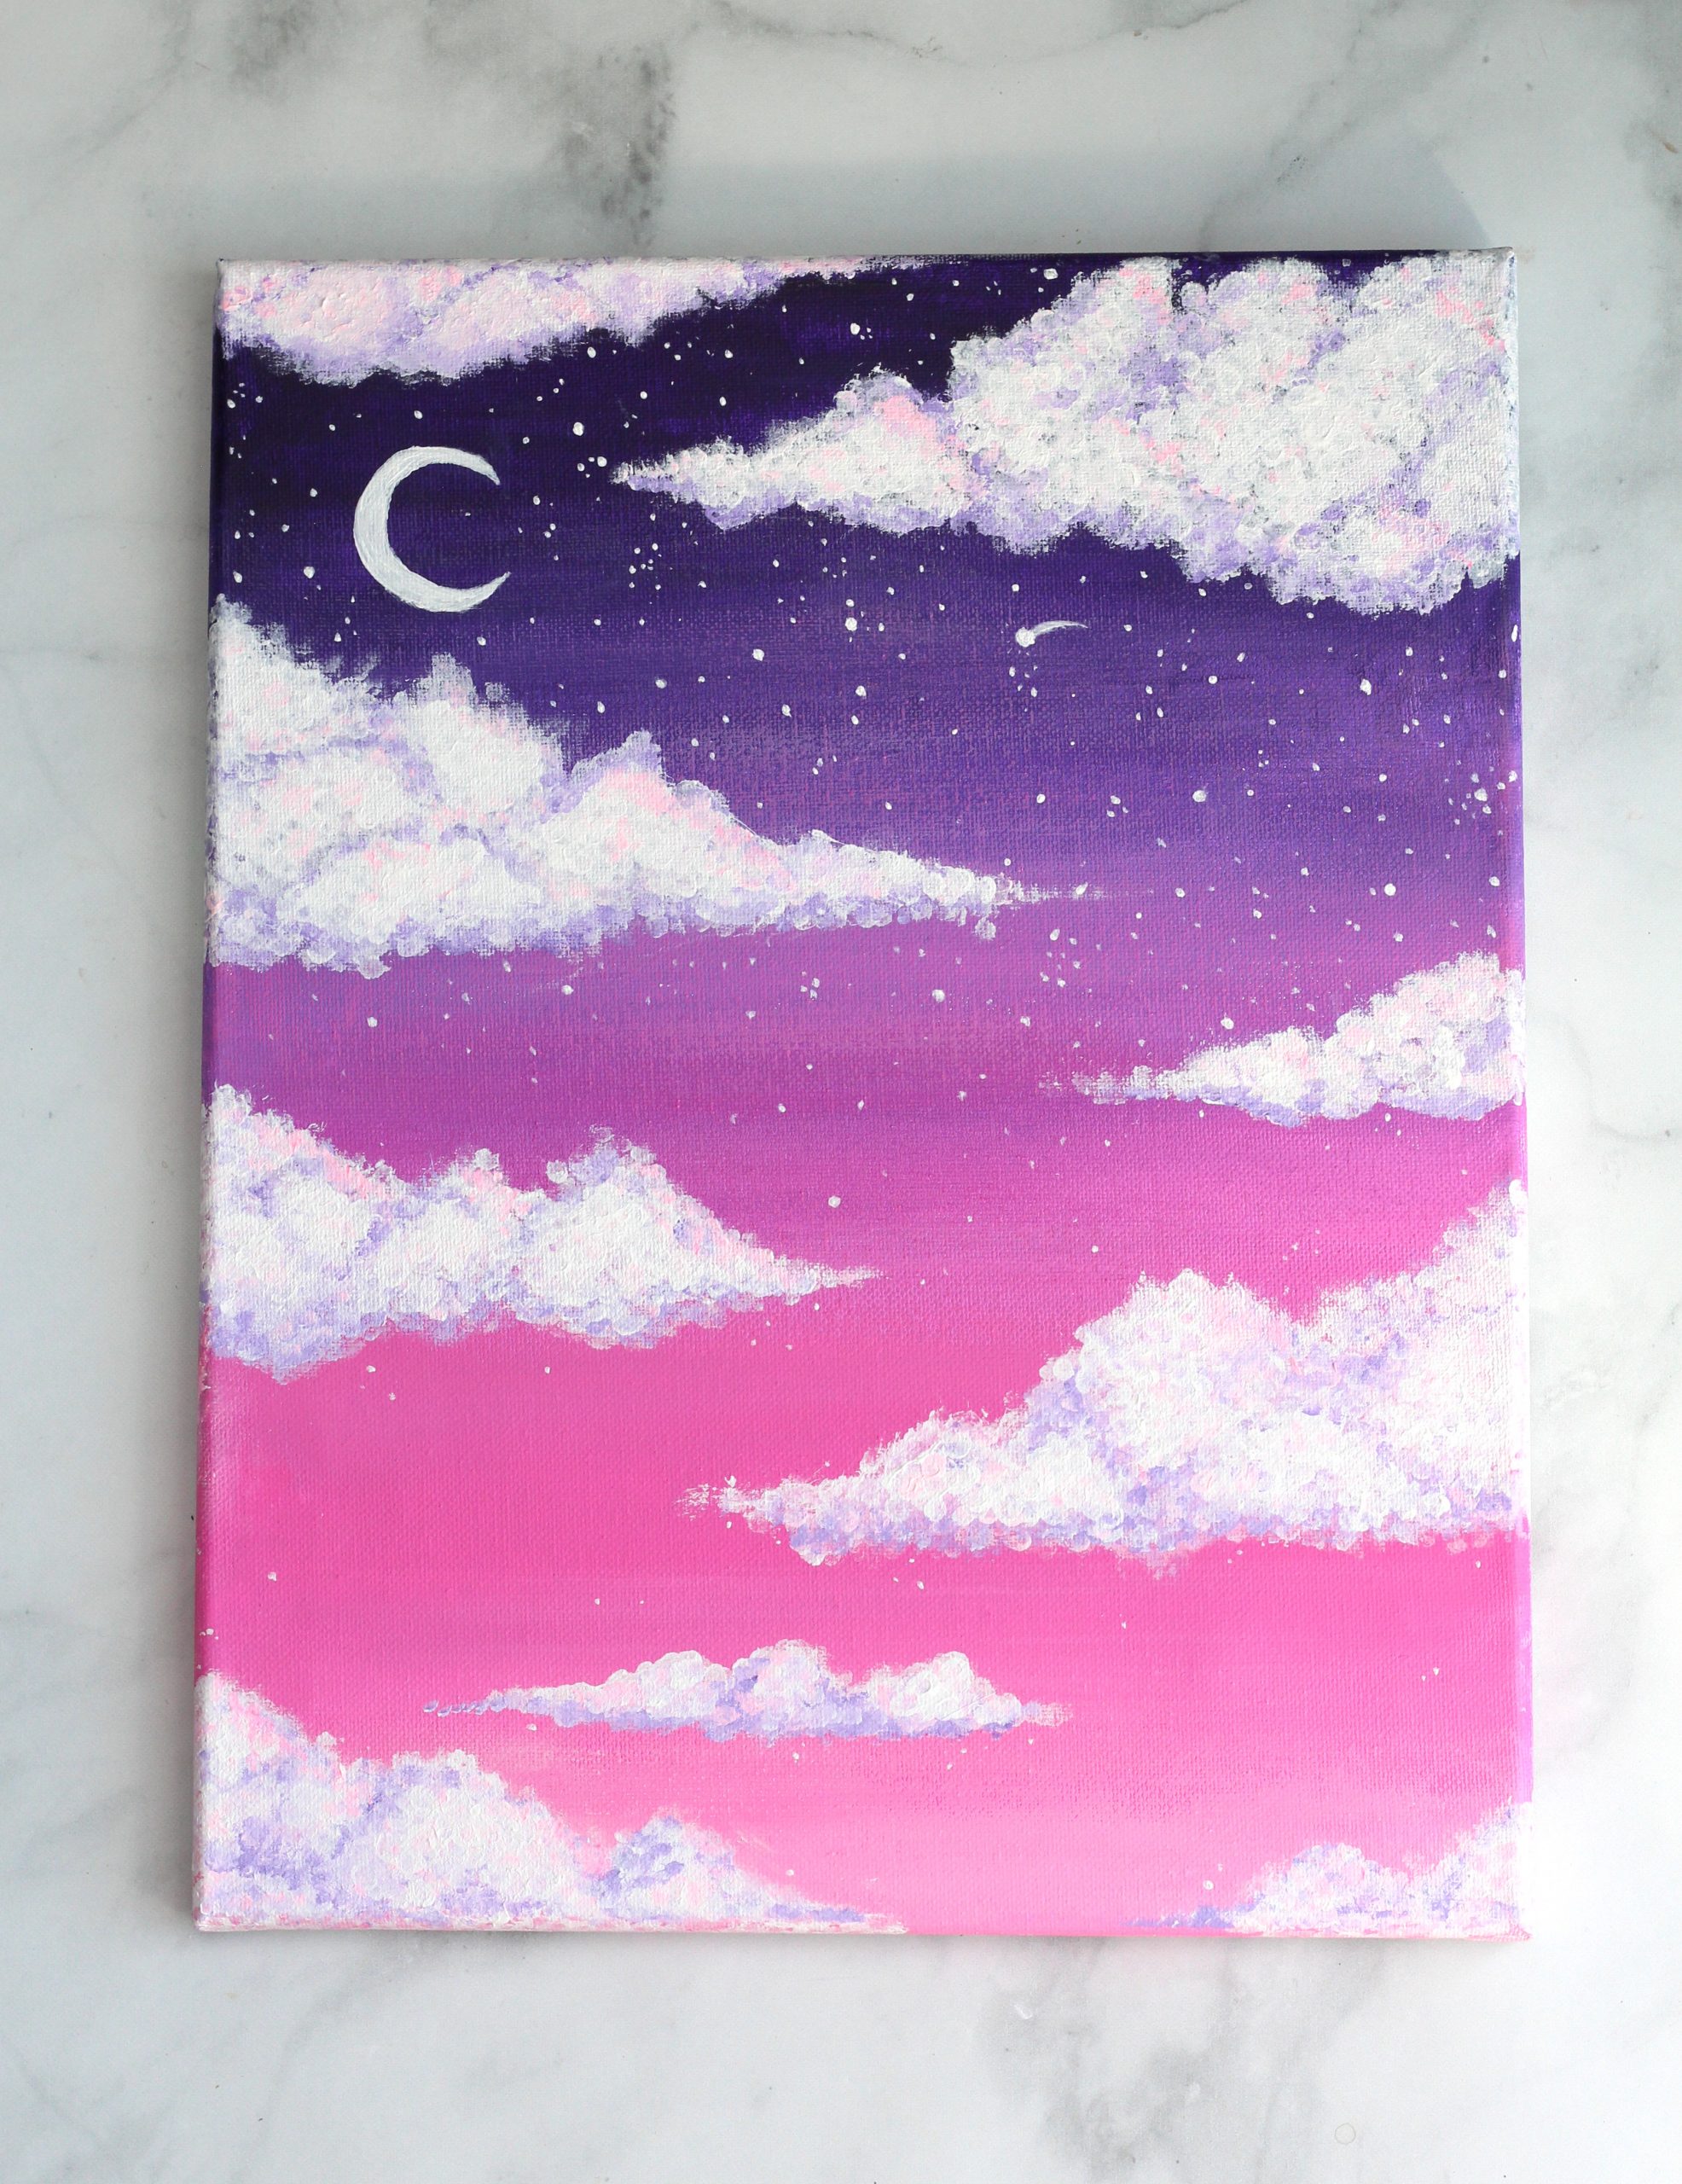
- Repeat step five-9 with the balance of your clouds. I'thou including the pictures of each of my initial cloud shapes to help you recreate clouds in this painting.


- Your clouds are now done! Time for some finishing details. Using a liner brush and some pure white paint, dot on some stars all over your sky, simply concentrating nearly of them in the imperial portion of your heaven. Using the same liner brush, paint in a moon, and you're done!


If you lot liked this tutorial, please Pivot it!

Source: https://feelingnifty.com/how-to-paint-clouds-acrylic/
0 Response to "what paint brushes to use for painting clouds with acrylics"
Post a Comment